Introduction
If you're looking to update the look of a room but don't have the time or budget for a full renovation, wallpapering over existing tiles can be a tempting option. Not only does it allow you to quickly change up the aesthetic of a space, but it also eliminates the messy and labor-intensive process of tearing out old tiles. But before you break out the wallpaper paste, there are a few factors to consider to ensure the best results.
Factors to Consider
The type of tile you'll be covering plays a big role in determining whether wallpapering over them is even feasible. Non-porous tiles, such as ceramic or glass, tend to provide a smooth surface that's ideal for wallpaper application. Porous tiles, like natural stone or unglazed quarry tile, may not create a suitable base due to their absorbent nature. Moisture from the adhesive could potentially seep into the porous material, causing damage over time.
Additionally, the condition of the tiles themselves must be taken into account. Chips, cracks, or other imperfections in the tile surface may prevent the wallpaper from properly adhering, leading to unsightly bulges or peeling. In these cases, it may be worthwhile to repair or replace problematic tiles prior to installing new wallpaper.
Finally, different types of wallpaper adhesives perform better on certain surfaces than others. It's important to choose an appropriate adhesive based on both the tile material and the weight and texture of the chosen wallpaper.
Preparation Steps
Once you've determined that your tiles are suitable candidates for wallpapering, it's time to begin prepping the surface. Start by giving the tiles a thorough cleaning to remove dirt and grime buildup. A mixture of equal parts white vinegar and warm water can effectively cut through grease and mildew while leaving no residue behind. Be sure to rinse the tiles completely and dry them off before moving onto the next step.
Next, inspect the tiles for signs of wear and tear. As mentioned earlier, chipped or cracked tiles may cause issues during installation. To address these problems, apply a matching tile adhesive to fill in gaps and restore uniformity to the surface. Allow the adhesive ample time to cure according to manufacturer recommendations—usually around 24 hours—before proceeding.
Before hanging the wallpaper itself, it's crucial to apply a primer specifically formulated for use with wallcoverings. Primers serve multiple purposes: they block stains, seal porous materials, and improve adhesion between the wall and the wallpaper. Again, take care to follow the manufacturer's guidelines regarding drying times and recoat intervals.
Choosing Your Wallpaper

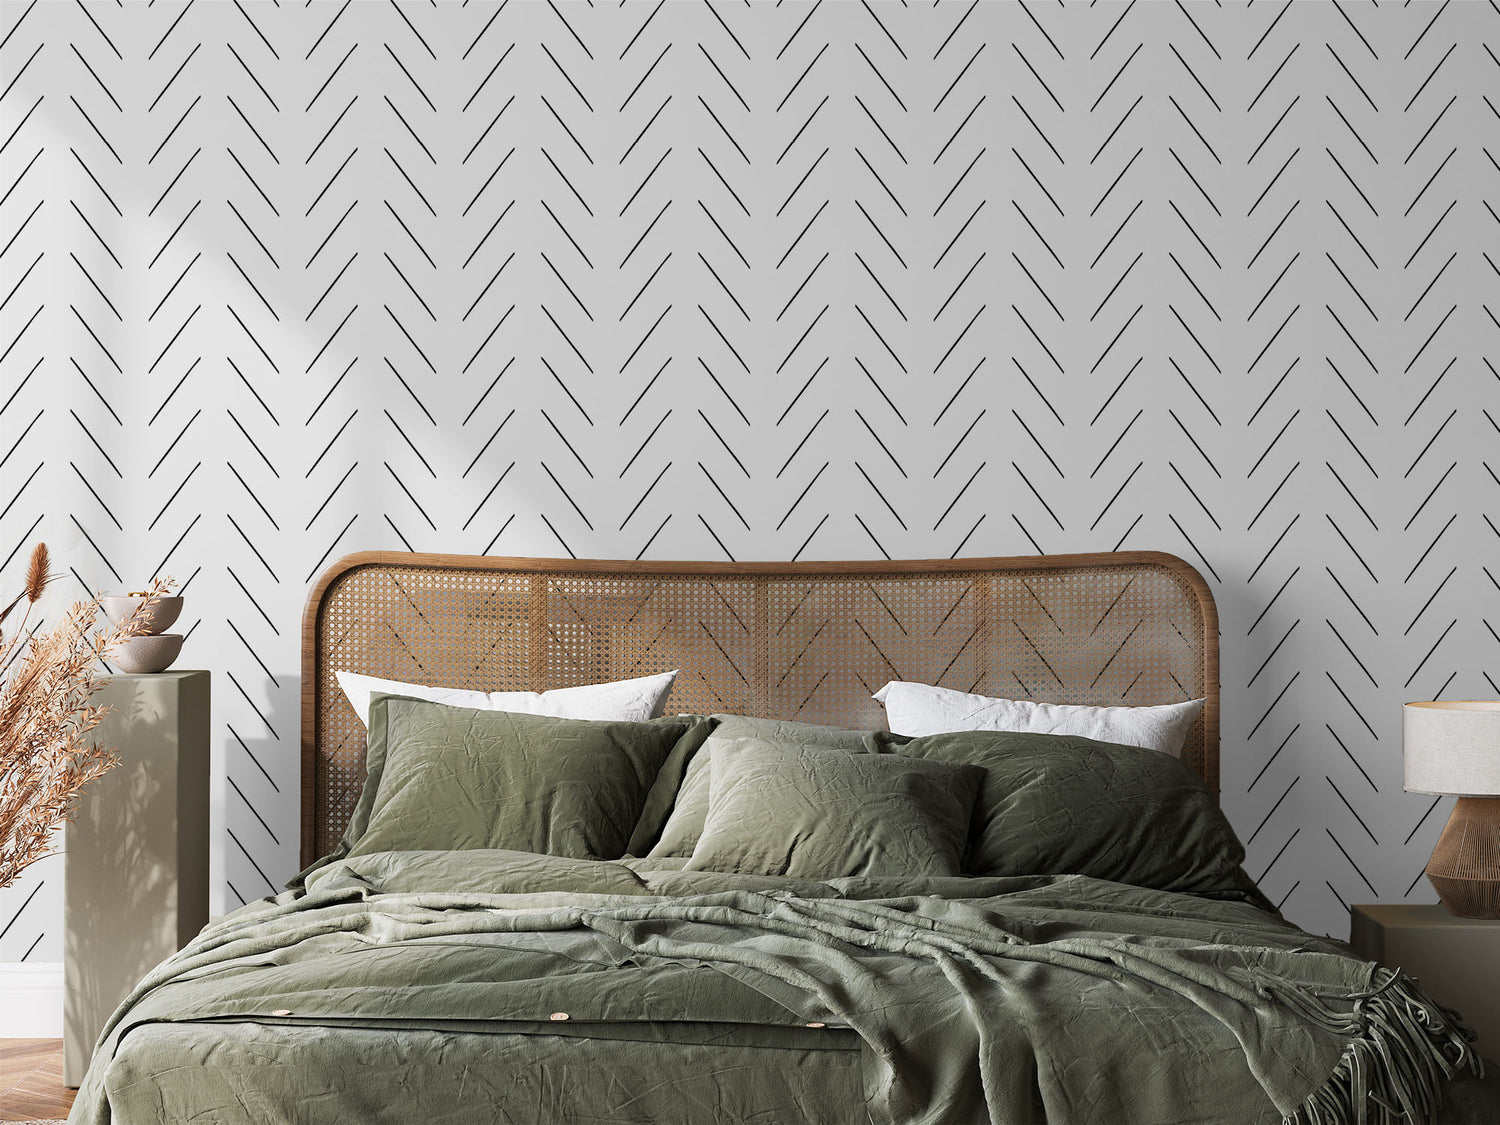
At Peel&Paper, we offer two options tailored for applications over tile surfaces. Our Peel & Stick Vinyl Wallpaper boasts excellent durability and waterproof qualities, making it particularly suited for bathrooms and high-traffic areas. Its compatibility with textured walls sets it apart from many competing products.
Alternatively, those seeking a more permanent solution may prefer our Heavy Grade Paste-the-Wall Wallpaper. Featuring a smooth satin finish and robust construction, this option provides superior water resistance and longevity. Although slightly less forgiving than its vinyl counterpart, the heavy-grade wallpaper offers outstanding performance when correctly installed and maintained.
Regardless of which type you select, always verify that the dimensions align with your intended coverage area. Many patterns repeat horizontally and vertically, so taking accurate measurements ensures minimal waste and reduces frustration during the application process.
Application Process
With careful preparation complete, you're now ready to embark on the exciting journey of transforming your space with fresh wallpaper. Begin by measuring the height and width of the wall(s) where you plan to apply the wallpaper. Using these dimensions, calculate how much material you'll need to order—don't forget to factor in extra for pattern repeats and potential mistakes.
When your shipment arrives, acclimate the rolls to room temperature for approximately 48 hours to minimize curling or warping during installation. Next, lay out the first roll face down on a flat surface and gently unfold it, smoothing any creases as you progress. Repeat this process with subsequent rolls until all components are prepared and organized chronologically.
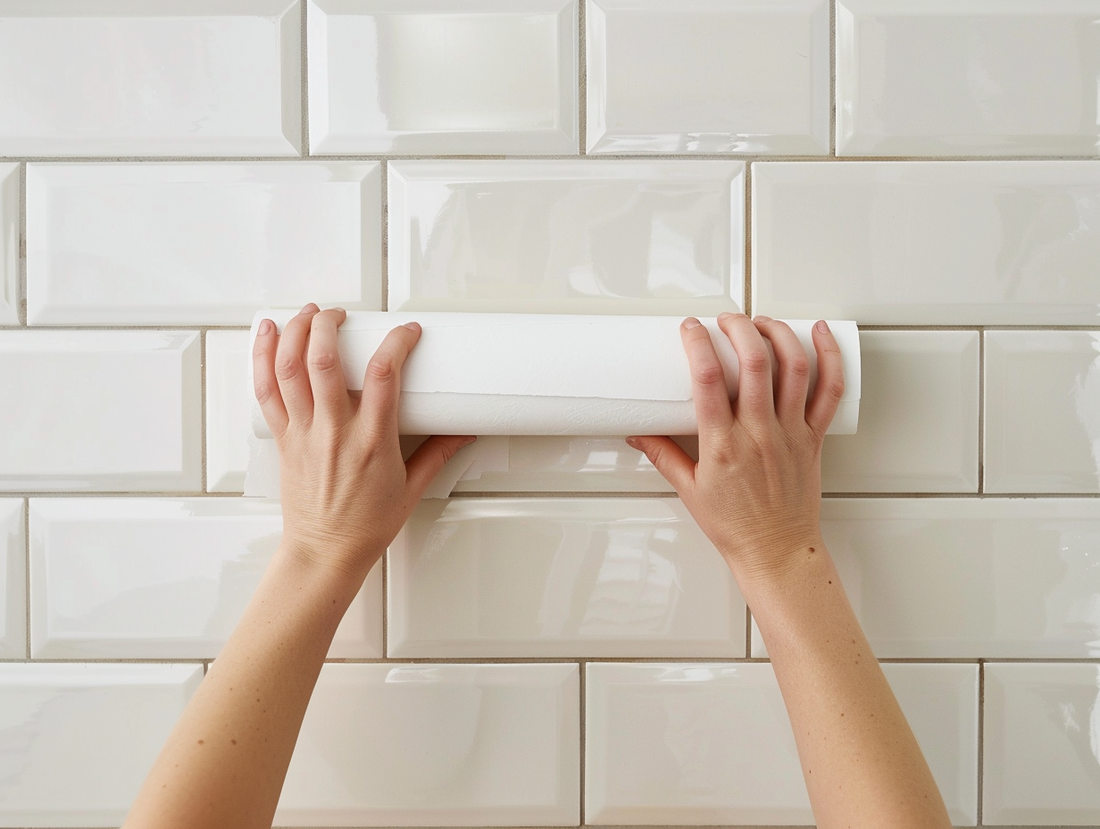
To initiate the application, position the first strip along one edge of the wall, ensuring alignment with either a corner or seam. Slowly peel back the backing paper, maintaining contact between the exposed adhesive and the primed tile surface. Once fully affixed, use a plastic smoother or squeegee to eliminate trapped air pockets and secure strong bond formation.
Continue advancing across the wall, periodically checking vertical alignment and adjusting accordingly. When reaching obstacles such as windows, light switches, or electrical sockets, employ a sharp utility knife to precisely trim away unwanted portions. Take your time and exercise caution to avoid damaging adjacent surfaces or compromising the integrity of the wallpaper itself.
Upon completion, marvel at the stunning transformation brought forth by your diligent efforts. However, refrain from celebrating prematurely—it's essential to allow the adhesive adequate time to set before exposing the newly papered surface to regular usage. Adhere strictly to recommended cure periods provided by manufacturers to ensure lasting satisfaction.
Maintenance and Care
Preserving the splendor of your revitalized surroundings hinges upon mindful interaction and periodic upkeep. While most modern wallpapers exhibit remarkable durability, they still warrant respectful treatment to maximize lifespan and appearance.
Avoid scrubbing vigorously when addressing spills or accumulations; instead, opt for gentle wiping with a damp cloth and mild detergent. Refrain from immersion in liquids, especially near seams or edges, as this can promote delamination and compromise structural stability. Moreover, resist the urge to pull forcefully at loose ends or protrusions, lest you exacerbate tears or detachments.
In humid environments like bathrooms, routinely assess conditions conducive to mold growth. Should black spots emerge, promptly tackle them utilizing specialized fungicidal sprays available at local hardware stores. Neglecting these intruders risks escalating infestations and jeopardizing the healthfulness of your environment.
Lastly, bear in mind that despite best practices, normal degradation eventually ensues. Anticipate periodic refreshment every five to ten years depending on environmental stressors and personal preferences. Embrace the opportunity to reinvent your space, incorporating novel trends and motifs befitting evolving tastes and styles.